Showing posts with label cleaning tips. Show all posts

How To Clean Burned Food From Your Pots Or Pans in 5 Minutes ( Easiest & Quickest Way) With Step By Step Pictures


It happens with everyone , may be not as frequently as mine , but it does, one minute you are cooking something in a pot, then another minute you forget it or went to check your facebook and you ended up with a pot that's all black inside. I posted some tips before also on how To Get Rid Of Burned Food In A Pan, but this is the easiest, most effective and quickest way to get your blackened pot back to its shiny former self, because who has time to soak a pot overnight? This absolutely makes your life more easier specially in the kitchen :).


How To Clean Burned Food From Your Pots Or Pans in 5 Minutes

Ingredients:-

Burned Pot/Pan
Dish soap
Baking Soda
Water
Steel wool/pot scrubber or any cleaning sponge / brush

Procedure:-
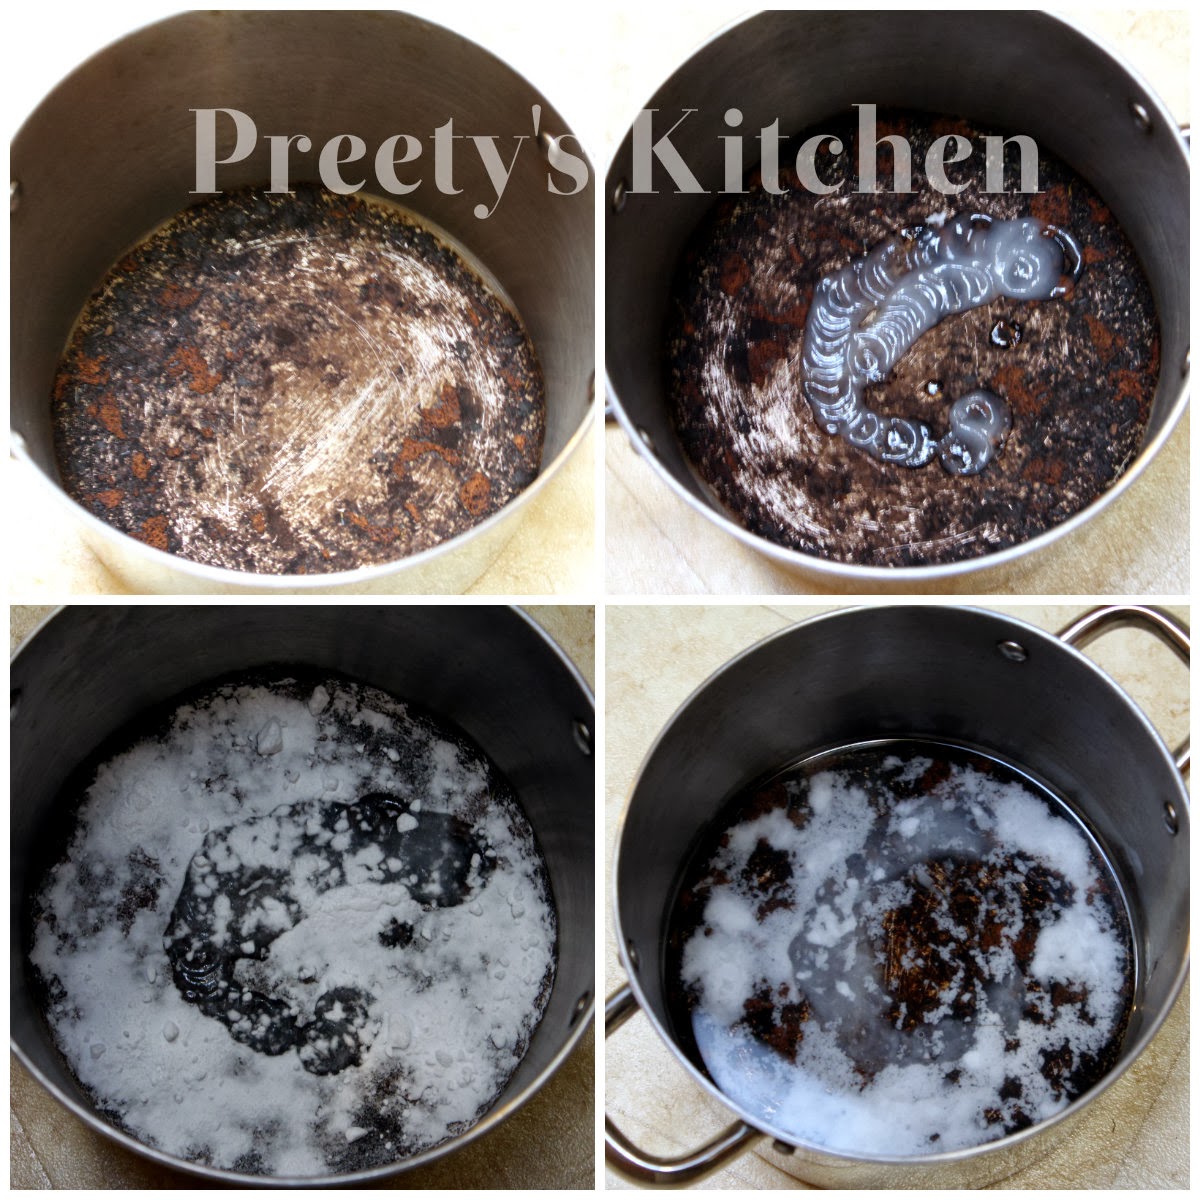


1)Put 1-2 tbsp of dish soap in the burnt pan

2)Sprinkle baking soda over it so that it covers the burnt area.

3)Partially fill the pot with water(ensuring all blackened areas are covered)


4) Put the pot on the stove and bring to a boil and allow the water to boil for couple of minutes.

5) Switch off the gas and empty the pot. You will notice at this point the all the burnt food will start coming off. ( Be careful the pot will be very hot , to cool the pot fast run it under the cold water in the sink).

6)Rinse and wipe clean with a steel wool /pot scrubber and it should look like new.


LIKE OUR FACEBOOK PAGE TO SEE DAILY UPDATED RECIPES AND TIPS.

More KITCHEN TIPS


Notes / Tips:-

1) Always set a timer when you are cooking, even if you think you will remember to turn it off.

2) This method is for stainless steel pots and pans only.

3) If you're having trouble finding a method how to clean a burnt stainless steel pot that works for you, keep in mind that you may need to repeat these processes a few times in order to remove all of the built-up residue from your stainless steel pan or pot.

4) Avoid using steel wool or abrasive cleansers on polished metal. They can create scratches that will allow food to stick and burn even more easily.

5) Spray your pot with non-stick cooking spray. This will not help you from burning your dish but it usually helps release anything from the sides and bottom of your crock should you burn it.

How do you clean stainless steel pots and pans?


Read More......

How To Clean Silver At Home Using Natural Cleaners( With Pictures)/ Cleaning Tips


Silver can quickly develop tarnish, stains or scratches.Unfortunately, store bought cleaners contain abrasives that not only remove tarnish but also strip off a thin layer of silver in the process and not to mention they may also contain corrosives and other toxic ingredients that is dangerous to your health and the environment.

Ingredients:-
1/4 cup baking soda
A few teaspoons salt
1 quart boiling water
A big Pan
Aluminum Foil
Olive Oil
Soft microfiber cloth.


Procedure:-

1) Find a pan large enough to hold your silver items and line it with aluminum foil,shiny side up.Wash items, put the items inside the pan, making sure they are touching the foil.

2) Mix the salt and baking soda in a bowl and sprinkle evenly over silver items. Pour the boiling water over it.Let me sit for 2-3 minutes.A chemical reaction that gets the black off the gravy boat.

3)Empty the water and remove your silver from the pan. Rinse each item well with hot water.

Add two to three drops of olive oil to a soft, natural fiber cloth and rub your silver pieces with it. This will dry and polish your silver, while providing a natural anti-tarnish.

Notes:-

Use care when polishing or dipping silver plated items. It is easy to wear away the thin layer of silver and cause more harm than good through over cleaning.

If you use your silverware regularly, expect to polish it just a few times a year. You'll know to polish when the item begins turning a light, gold color

Do not soak silver overnight or for a prolonged period

Do not wear rubber gloves when working with your silver as rubber is corrosive to silver.

There are some other ways also to clean the silver:-

Toothpaste: Toothpaste can also prove successful at removing tarnish from your more delicate silver items. Coat the silver with a small amount of toothpaste, add a few drops of cold water, use your hands to work the paste into a foam. An extra-soft toothbrush can be used for the stubborn tarnish in small crevices. Rinse under warm water and dry with a soft cloth.

Baking soda and water: Mix baking soda and water to make a paste, then rub silver with it.(For items which cannot be submerged in boiling water)

HOW DO YOU CLEAN YOUR SILVER..?


LIKE OUR FACEBOOK PAGE TO SEE DAILY UPDATED RECIPES AND TIPS.


Enjoy:)
Read More......

How To Test Baking Powder and Baking Soda for Freshness


I use baking soda on a daily basis almost for everything from cooking , baking to cleaning & deodorizing. Baking Powder & Baking Soda lose their effectiveness over time. If you can't remember when you bought your last box of baking soda to bake with then it's a good idea to test them before using , just to be sure they are still good. If expired baking soda or powder is used while baking then your baked goods will not rise as much as they should that may result in dense cakes or flat cookies. This test is quick and simple and can save your recipe

How To Test Baking Powder (Baking powder is activated by a combination of heat and moisture.)
--------------------------------------------------------------------------------------------

Stir a teaspoon of baking powder into a cup of hot water.

It should fizz immediately and produce lots of bubbles.

How To Test Baking Soda (Baking Soda is activated when mixed with an acidic ingredient)
---------------------------------------------------------------------------------------

Pour a few tablespoons of white distilled vinegar into a small bowl. Add 1/2 teaspoon baking soda.

If it's fresh, the mixture should fizz and bubble vigorously. If you don't see a lot of bubbles, it's time to replace your baking soda

NOTES:-

If sealed properly, baking powder can last upto two years.

Store baking soda or baking powder in a cool, dry place with the lid sealed. Store up to 18 months or until expiration date

You can still use expired baking soda for cleaning , but it will not be powerful enough to use in baking.

FOR MORE GREAT TIPS LIKE MY FACEBOOK PAGE & STAY CONNECTED
Read More......

Kitchen Cleaning Tip :- How to Clean Hard Grease Off the Stove Top ( With Pictures )

Stove top cleaning is one of the toughest cleaning jobs in the kitchen as it's prone to so many spills and stuck-on messes. .The best thing to do is to clean up after every use to avoid messes. It might be difficult for those who are so busy with their lives so here i am sharing a simple, non chemical way to clean your stove top.


My stove top is almost 10 year old so this is the best it looks after its clean so don't get discouraged by the beauty of my particular stove top , if you have a dirty one at your home try this method it works like a charm for me every time.

Ingredients:-

Dirty Stove
Baking Soda
Dishwasher liquid
Hot Water
Steel Wool
Kitchen rag or paper towel
Scraper , Knife or any sharp thing in case you need it (optional)


Procedure:-

1) Make sure the burner has completely cooled ,Wear rubber gloves to protect your hands.

2)Cover the stove top with generous amount of baking soda.

3)Mix dish washing liquid with hot water and pour it over baking soda ( Add 1 - 2 Tbsp of dish washing liquid with 1 cup of water).

4)Let it sit for atleast 15 minutes.

5)Now scrub it using any scrubber or steel wool in a circular motion.

6)90% of the grease will come off after scrubbing.

7)Wipe off everything using a paper towel or kitchen rag.

8)At this point it will look pretty clean, if you see any little bits of grease here and there , then you can use the scraper or a knife to scrape the rest.

9) Wipe clean with a damp paper towel again and your stove will look good as new.

Tip:-

Always clean it right away ,If something is stuck on you can pour some hot water and let it sit while you are doing your chores, usually it will clean right away.

When food spills occur, immediately sprinkle them with table salt, which absorbs moisture and makes the spill easy to clean up later when the stovetop cools. Cut and remove filmy grease with full-strength white vinegar or lemon juice.

You can also combine 1 Tbsp of salt with 1 Tbsp of baking soda , add one tablespoon of water and mix the paste together. Then, dip a cloth into the cleaner and scrub away.

Enjoy:)
Read More......

How To Clean Your Coffee Grinder (Step By Step Pictures)

I love my coffee grinder , everybody does right?. I use my coffee grinder to grind almost everything other than coffee.:). This is the best thing about coffee grinders that besides coffee, you can use them to grind herbs , spices , nuts etc. With such a wide range of uses, it is important to clean the grinder frequently to remove oils, flavorings, odors or residue The grinders can not be washed so you need to manually clean them.


Ingredients:-

Coffee grinder
Raw Rice:- 1/4 Cup
Damp Paper towel/ cloth

Procedure:-

1) Fill the grinding chamber with 1/4 Cup of raw rice.


2) Grind the rice until the rice is finely ground. Repeat this step if necessary ( If you haven't cleaned your grinder for a while then you need to repeat the process again).


3)Unplug the grinder and discard the ground rice particles.


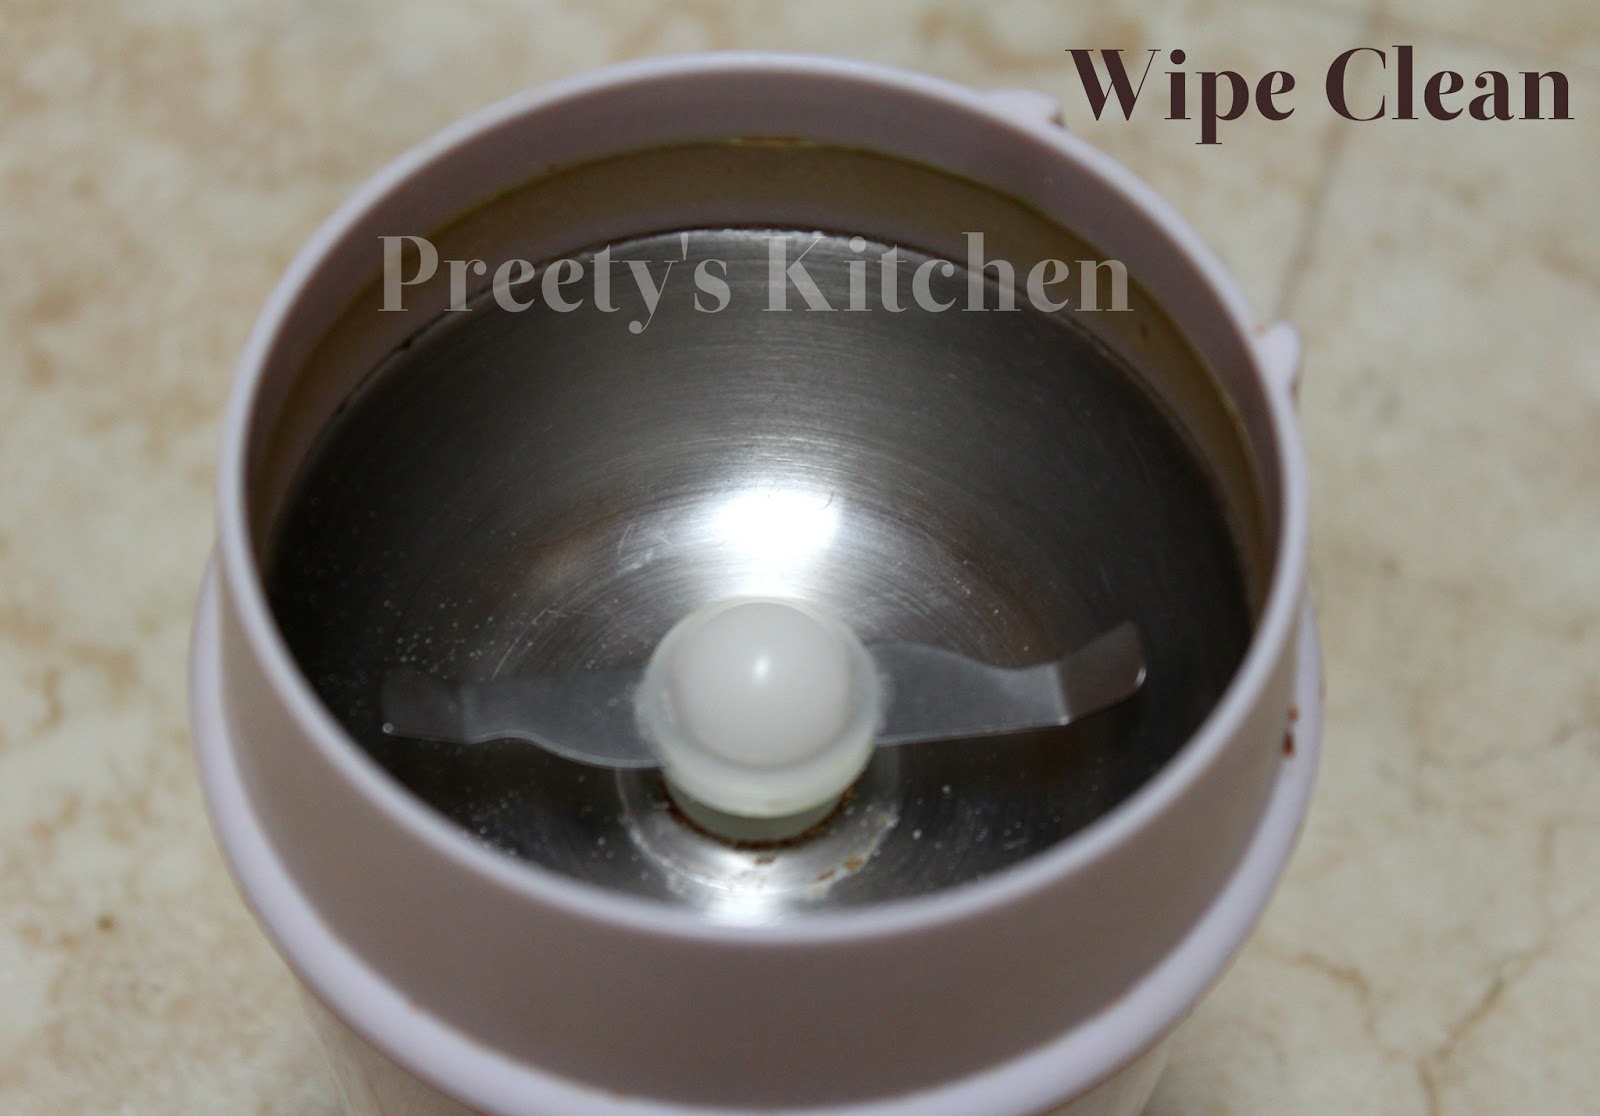
4) Use a damp cloth to wipe away any remaining rice dust.


5)Wash any removable lid of the coffee grinder with dishwashing liquid. Allow to air dry.

Notes:-

- Never put an electric coffee grinder in water.
- Always unplug the coffee grinder when cleaning.
- You can use bread , sugar or salt instead of rice to do the same .
- Do not use same grinder to grind your coffee and spices.
- Always read manufacturers manual before trying anything else.


Enjoy:)
Read More......
Related Posts Plugin for WordPress, Blogger...